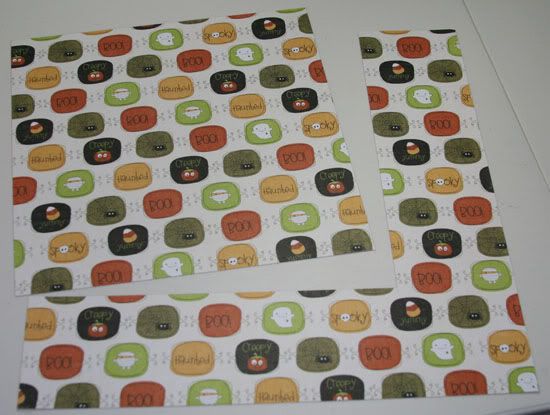
Step 1: Begin with an exact square sized piece of paper. You can use solid cardstock or printed paper...the double-sided kind looks great. My square is 9"X9"...the bigger the square, the bigger the pocket.
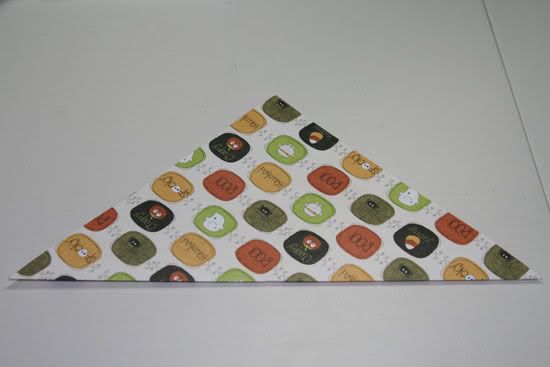
Step 2: Turn the paper so it looks like a diamond and fold the bottom point up to meet the top, forming a triangle...crease.
Step 3: Take the bottom right corner and fold it across to the left side....crease.
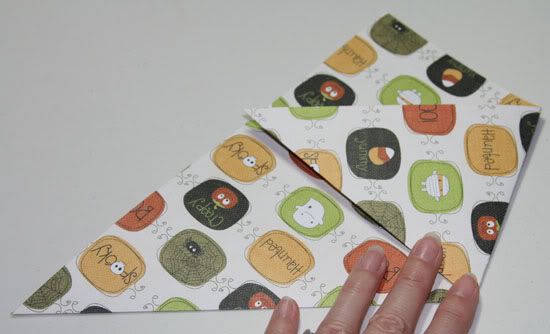
Step 4: Repeat step 3 using the bottom left corner.
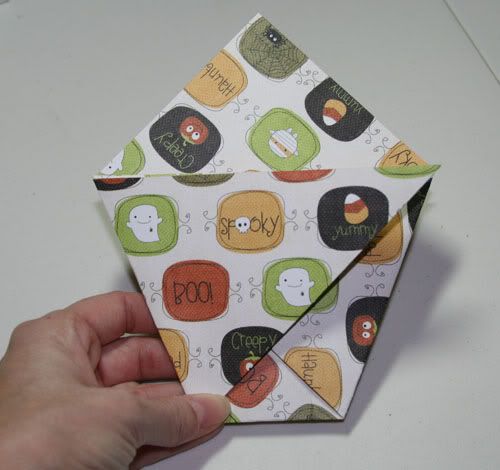
Step 5: Open up the top "flaps" and fold the front flap forward, over the folds. Crease and "puff" the pocket open a bit. You don't need any adhesive to help keep the pocket together, as the folds do this on their own. Simple!
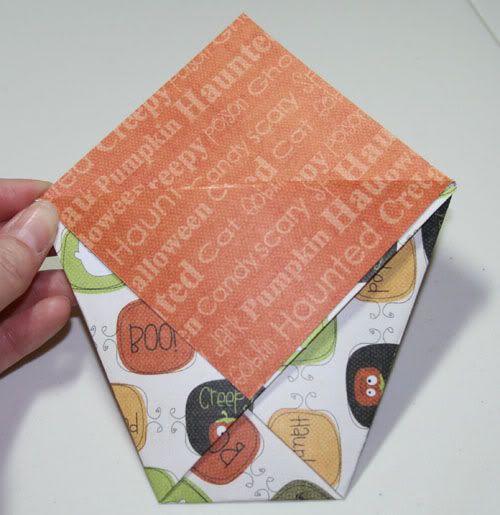
Step 6: Decorate as you like...fill with a treat...and there you have it!
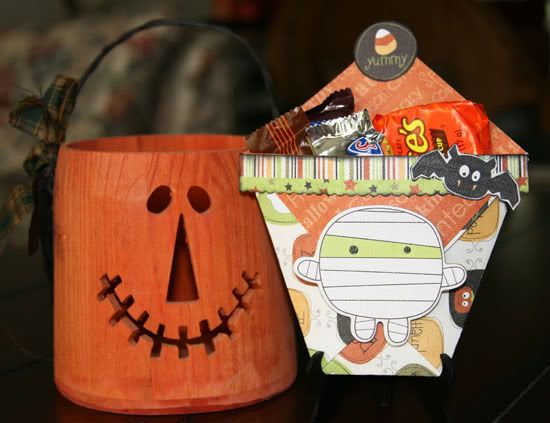
Hope you'll try one...or several! And if you can't do them for Halloween, try them for Thanksgiving as place setting cards...or at Christmas with some hot chocolate and a candy cane. They can be made for any occasion just by changing the papers. Have fun!


No comments:
Post a Comment